

Have you ever gotten really frustrated when making a hat (or other project in the round)? When you get around to the start/end of your project and it just doesn’t flow as smoothly as the rest of your work? It’s looser and has way more stretch than the rest of your whole project? You get all done and it just didn’t turn out like you wanted. Why? Because of that one little place in the beginning you couldn’t join tight enough to finish the project as professionally as you would have liked. Below is a photo tutorial of the best way to join your circular knitting in the round.
Of course this is based off my own personal opinion. However it really makes a much smoother join than other techniques I’ve tried. I’m always looking for new and creative ways to make my knitting better. Therefore I may find another method I like better down the road. But for now this is the best way I have found to join your work together in the round. This allows you to fix that issue SO easily!! If I find a better method at some point, I’ll be sure to post a tutorial on that as well. 😉
Best Way to Join Circular Knitting in the round Photo tutorial:
*This post may include affiliate links that I can earn a small commission from if you shop through them at no additional cost to you. In fact you may even receive a discount for using them. Think of it as another way to help support my small business. ☺️ Please see my full disclosure for more information.*
This is what your work looks like when you have the desired number of stitches cast on. On the left side of the picture is the end of your cast on stitches. On the right is the beginning of the round. You will flip this over so that the needle points are facing you. This will put the end of your cast on in your right hand and the beginning of your work in your left hand to start. I took the picture upside down, so I apologize for that!

Step by step:
Slip the very first stitch of your cast on (which is on your left hand needle) to your right needle so it’s directly in front of the last stitch you cast on.


You are then going to take the last stitch of your cast on and move it over that first stitch you just slipped onto the right needle and over to your left needle so that it is now your first stitch. (Basically the first and last stitches are switching places).

Next you pull your working yarn tight so that what was your last stitch and is now your first stitch is pulled tightly and uniformly with all your other stitches. You want to place your marker in between these 2 stitches to mark the beginning/end of your round. You then use this stitch as the first stitch of your round. Then you work the rest of the pattern as normal.
For an added measure to tighten up that first stitch you will knit, I have found if you knit it with the working yarn AND the tail together it just secures it even more. You just need to remember when you get back to that first stitch that you only knit one stitch and don’t work them as 2 separate stitches.
So, basically, as a recap, you are simply making your last cast on stitch your first and your first cast on stitch your last. You have them switch places so that there is no loose gap at the end of your round. This helps to pull your work tightly and neatly together.
Still Need a little more help…
What is easily explained in person seems a little more difficult to type out in words! I hope this makes sense. If you have any questions at all please don’t hesitate to ask. This is really an easy and great technique to use. It has helped me to make hats and other projects worked in the round so much neater. Which makes everything more professional looking when finished.
Maybe you feel like you might need a little extra assistance. If you want online classes to help you, check out the link below for Crafty website. I take online classes often to improve and advance my skills. You can always learn something new!
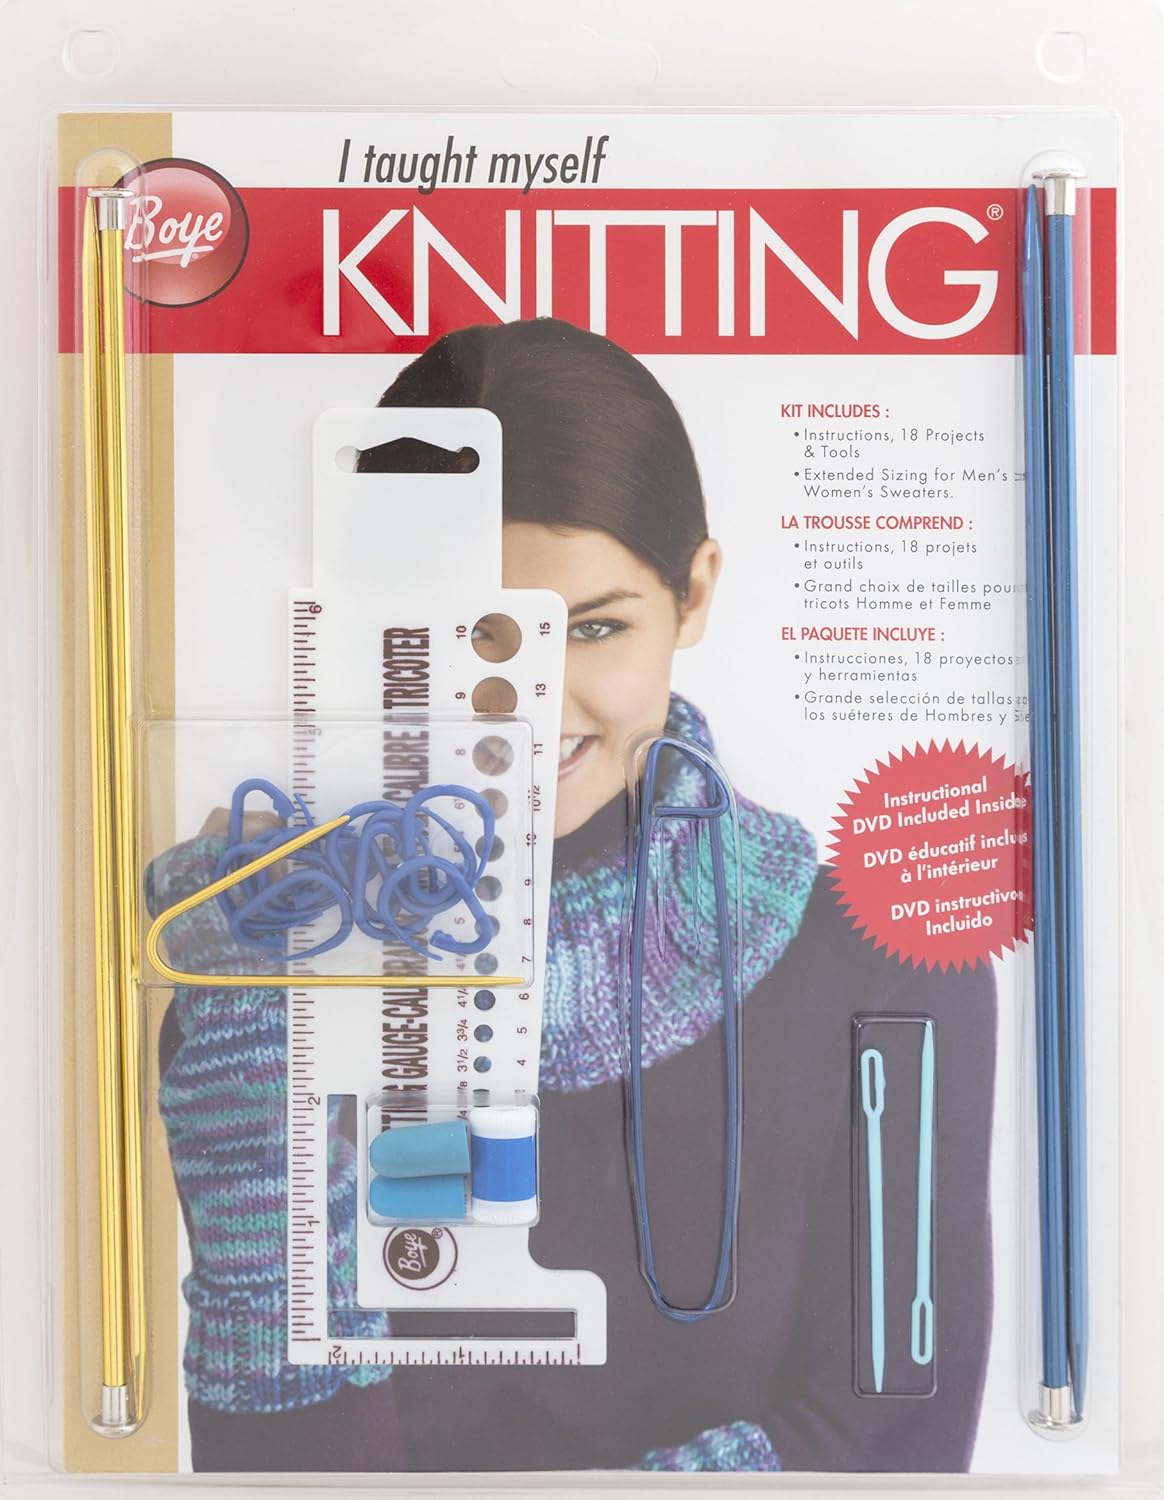
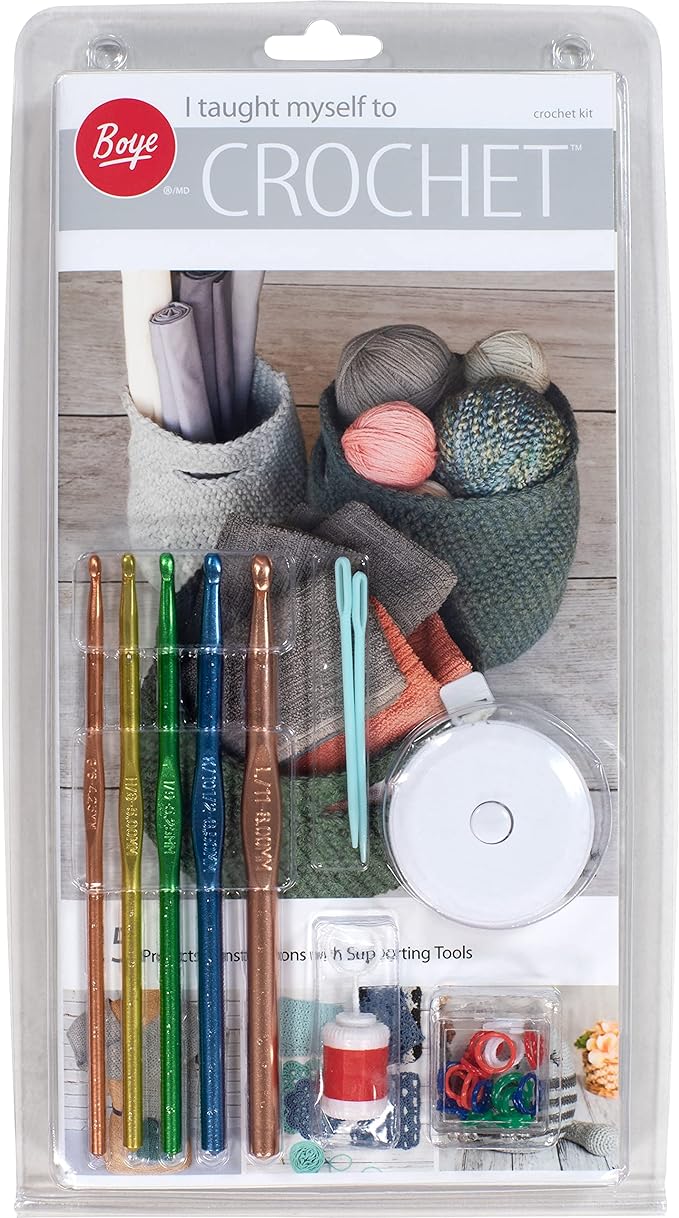
I taught myself to knit and crochet through kits that I found at my local craft store, so there is always that option as well. I’ll share links to kits similar to what I used that you can also find on Amazon.
Please comment on this post or look me up on Facebook, Twitter and/or Instagram to follow all my happenings there. The knitting and crocheting community is such a great one to be a part of! I can’t wait to get to know you. 😊
Happy Stitching!
🧶💖
~Mindy~